Grand Duchy of Roshino, Jodelnneur State, City of Nienieberg, Kinoko District
ロシーノ大公国ヨーデルヌール州ニーニーベルグ市きのこ地区
Hakama for 1/6 size dolls 1/6サイズドール用の馬乗り袴

お人形用の袴です。
Hakama for dolls.
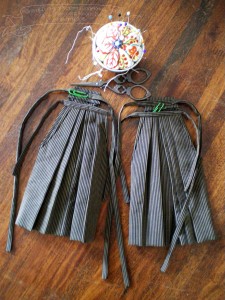 男性用の袴には、スカート状になっている行燈袴と、
足を入れる部分が二つに分かれている馬乗り袴があります。
There is two types of men’s hakama: one is called “Andon hakama”
which is a skirt-type (undivided), and the other
called “Umanori hakama” which is for horse-riding (divided legs).
 馬乗り袴の方がより男性らしいと言えます。
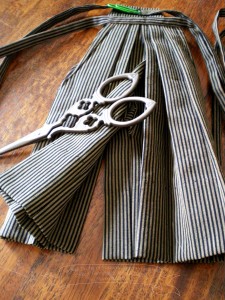
襞の畳み方が左右対称ではないところが特徴です。
Umanori hakama is more masculine, so to speak.
It has a distinctive arrangement of pleats, that is asymmetrical.
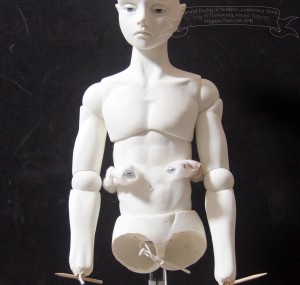
BJD Levi doll 6 兵長人形その6

腹部球を入れるために胴体を分割し
球をつけました。
写真を撮るのを忘れていたので
その工程の画像はなしです。
続いて腕をおおまかに作って
関節球をいれていきます。
Cut the body for joints
and add joint balls.
No photo images of this proces
since I forgot to take pictures.
After that, start making arms roughly
and place joint balls.
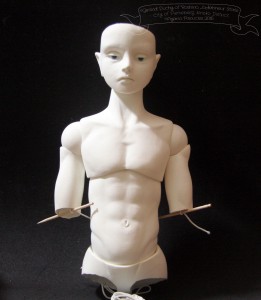 上腕から。
上腕から。
Upper arms.
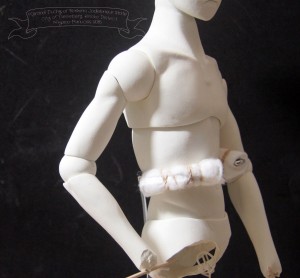 太すぎず細すぎず
体とのバランスを見ながら。
Not too thick, not too skinny
carefully balance the proportion.
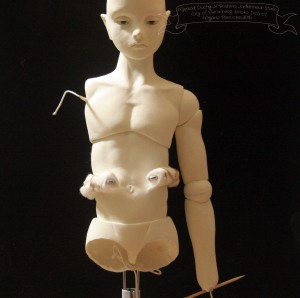
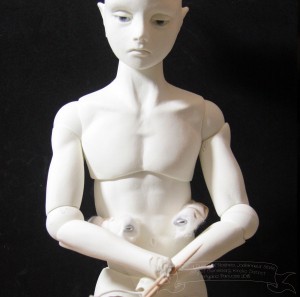 可動域も考慮しつつラインを
殺さないように細部に手を入れていきます。
Considering its range of motion
work on details without messing his figure.
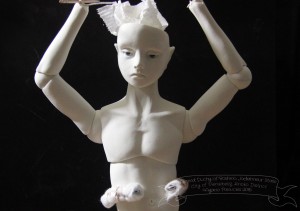 ばんざーい。
もうちょっと可動域を広げ
もっともっと細部を作り込んでいきます。
I need to increase range of motion
and work on more and more details.


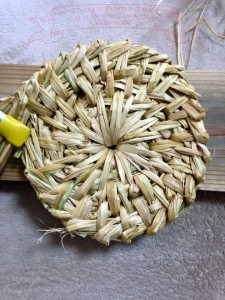


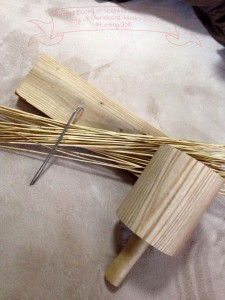
Neko Chigura 2015-2 猫ちぐら2015の2

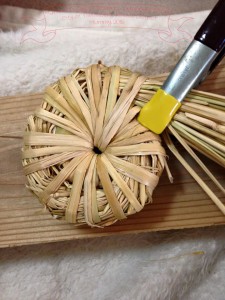
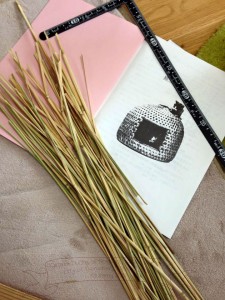
猫ちぐらを作ることは、まず藁を手に入れるところから始まります。
Making of Neko chigura starts with getting fine rice straws.
 今年は知り合いにとても良い藁を譲ってもらえました。
よくお日様に当て、乾燥させた丈の長いものです。
中くらいの猫ちぐらを作るには、この藁の束が20~30必要になります。
I was lucky to have these nice straws from my friend this year.
They are well-exposed to the sun, well-dried, and long-stemmed.
For medium sized neko chigura, you will need 20-30 of this bundle of straws.
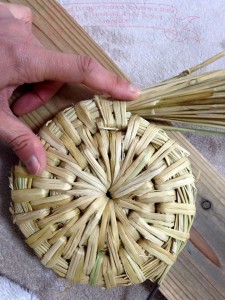
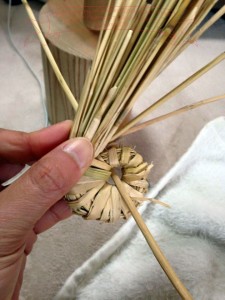
 藁はすべて余計な部分を除き、編むのに適した長さに揃えておきます。
年に一度の猫ちぐら作りなので、しっかり作り方の本を見直しておきます。
Preparation of straws: eliminate unnecessary parts and cut to the adequate length.
Go over the how to make neko chigura booklet; it’s a once-a-year event
so you don’t want to mess it!
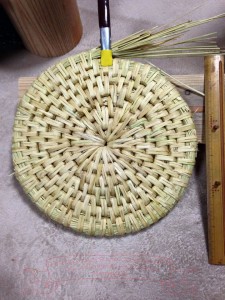
Neko Chigura 2015-1 猫ちぐら2015の1

 猫ちぐらは、藁で編まれたドーム状の猫のお家です。
Nekochigura is a cat house with dome ceiling made out of woven rice straws.
ちぐら、というものはもともと農作業中に赤ちゃんを座らせておくためのもので、
それぞれのお家で作られていたものでした。
Originally, chigura was a woven basket in which baby sits during
parents are working in the farm and was commonly made by individual family.
それをドーム状にして猫のお家にしたところ、多くの猫が喜んで入ってくるように!
Then after making it a cat house with dome ceiling, people found cats actually love and enjoy it!
現在は新潟県の関川村を中心に作られていますが、編める人も少なく時間もかかることから、
注文してから届くまで6年もかかるそうです。
Nekochigura is currently made in several villages in Niigata prefecture, like Sekikawa-village,
however, there are only a few people who can make it and it requires lots of time to make,
now you need to wait 6 years to get one for yourself.
そこで、私は自分で作れるようになればいいと思ったのです。
At that point, I realized “how about making one by myself?”.
もとは、各家庭で作られていたもの、それほど専門的な道具も技術も必要なかったのです。
As I mentioned before, Nekochigura is made by each household, so you
really need neither special tools nor techniques.
関川村の猫ちぐらのご紹介↓Here is a link to Sekikawa-village’s Nekochigura makings
http://www.nekochigura.com/
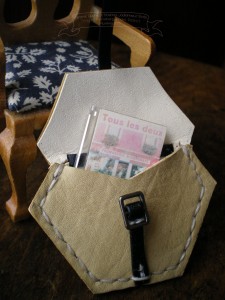
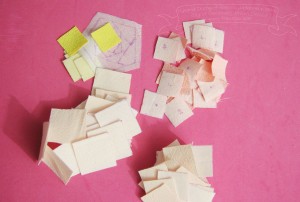
Chirimen Craft Japanese Confetti Bag ちりめん細工の金平糖袋

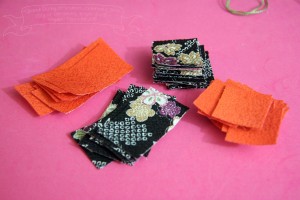 金平糖袋を作ります。
Making Japanese confetti bag.
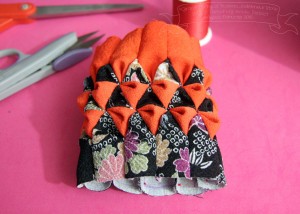
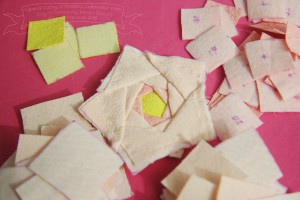
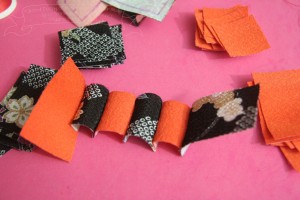 ひたすらパーツを繋げていきます…
Just keep sewing parts together…
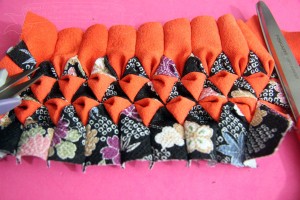 どんどん繋げます…
Still going and going…
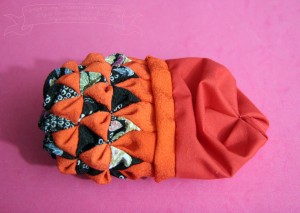
 終わったら筒状にします。
After that, sew it to become a tube.
 口べりと内袋をつけます。
Sew castings and inner bag together.
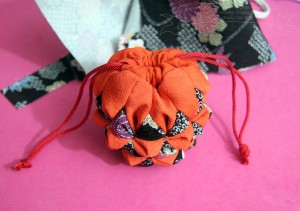 紐を通します。
あと少しで完成。
Insert two strings.
It’s almost done.
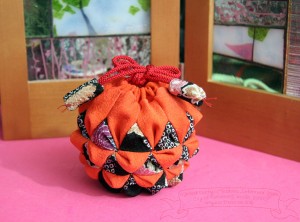 紐先の飾りをつけて完成。
Complete with making charms at the end of strings.
 手のひらにのるくらいのサイズです。
(先日の薔薇袋も同じサイズです)
It is a palm size bag as you can see.
(the rose bag I made is about the same size)
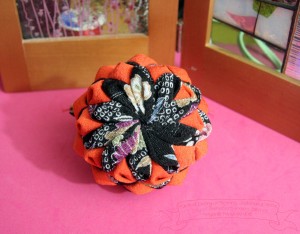 底も可愛くなってます。
Its bottom is also very cute.
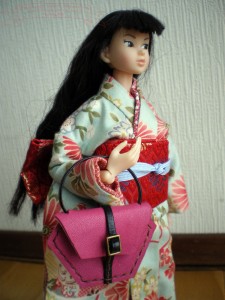
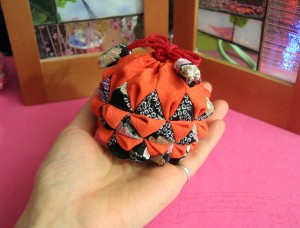
Chirimen Craft Rose Bag ちりめん細工のバラ袋

縮緬の琴爪入れの薔薇ができました。
I have just finished Japanese crepe cloth craft Rose bag.
 パッチワークのようにして花を作ります。
It is same as patchwork quilting.
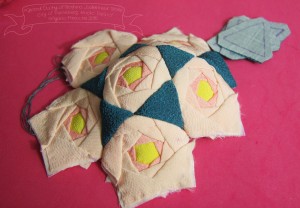
 薔薇が出来たら繋げます。
Sew them together after making all roses.
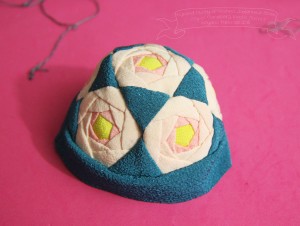
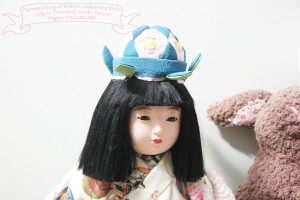
 この状態だとお人形の帽子みたいです。
It looks like a doll’s hat in this stage.
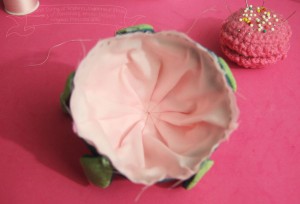 内袋を作り
内袋を作り
Make inner bag
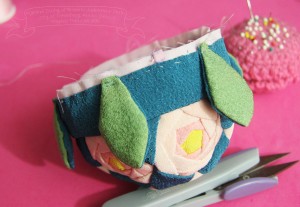 葉っぱを作って縫い付けます。
Sew and put leaves around the hem line.
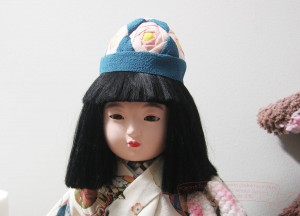
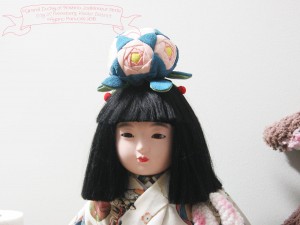
 またしても被せてみる。
サカナ君の帽子みたい。
Again, let my doll wear it as a hat.
It looks like Sakana-kun’s hat.
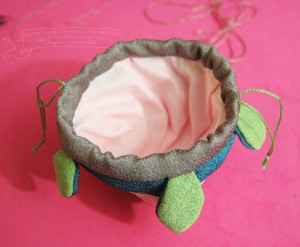 口べり布を縫い付けて紐を通します。
Sew castings and insert 2 drawstrings.
 紐先の飾りをつけて完成。
Complete with small red pompom at the end of drawstrings.
 おまけ。
おまけ。
Extra.