Grand Duchy of Roshino, Jodelnneur State, City of Nienieberg, Kinoko District
ロシーノ大公国ヨーデルヌール州ニーニーベルグ市きのこ地区

Neko Chigura 2015-7 Extra Edition 猫ちぐら2015の7 番外編
お友達に差し上げた2014年に作った猫ちぐらの
現在の様子を教えて頂きました。
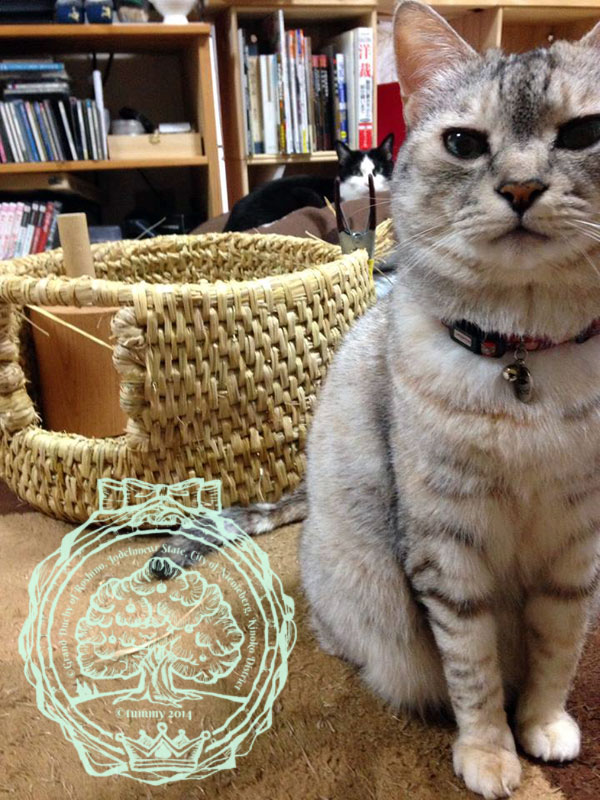
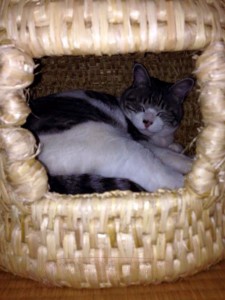
Here is a current condition of neko chigura: it was made by me
in 2014 and given to my friend as a present.
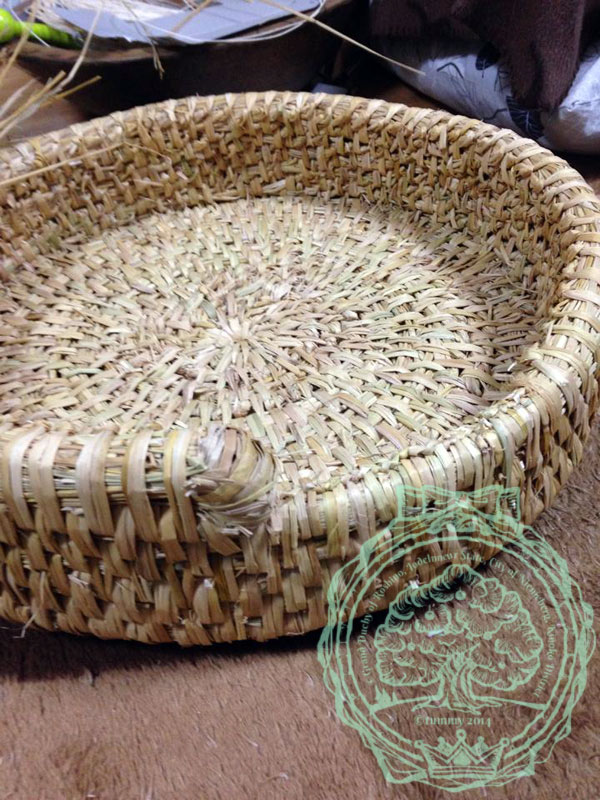
 爪とぎにも使っているそうで、やや毛羽立っていますが、
特に問題はないようです。
Cats also use it as a scratching post so it appears to be
slightly torn up
but there seems to be no problem at all.
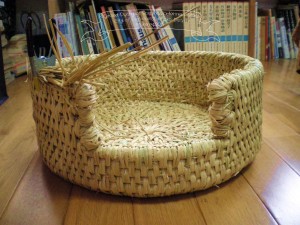
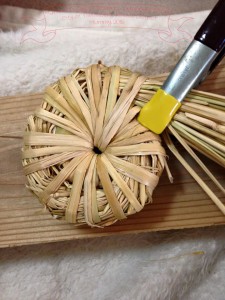
2014年の猫ちぐらNekochigura from 2014.


Neko Chigura 2015-2 猫ちぐら2015の2

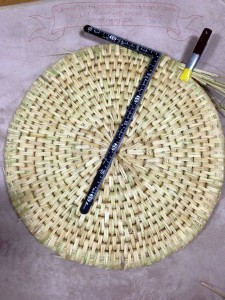
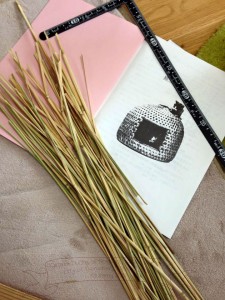
猫ちぐらを作ることは、まず藁を手に入れるところから始まります。
Making of Neko chigura starts with getting fine rice straws.
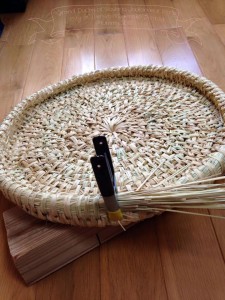
 今年は知り合いにとても良い藁を譲ってもらえました。
よくお日様に当て、乾燥させた丈の長いものです。
中くらいの猫ちぐらを作るには、この藁の束が20~30必要になります。
I was lucky to have these nice straws from my friend this year.
They are well-exposed to the sun, well-dried, and long-stemmed.
For medium sized neko chigura, you will need 20-30 of this bundle of straws.
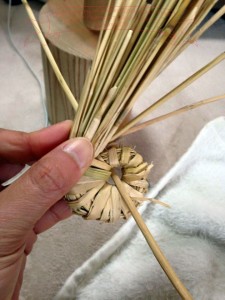
 藁はすべて余計な部分を除き、編むのに適した長さに揃えておきます。
年に一度の猫ちぐら作りなので、しっかり作り方の本を見直しておきます。
Preparation of straws: eliminate unnecessary parts and cut to the adequate length.
Go over the how to make neko chigura booklet; it’s a once-a-year event
so you don’t want to mess it!