天井の中心にある穴をふさいで、完成です。 Close the center ceiling hole and all done!

天井の中心にある穴をふさいで、完成です。 Close the center ceiling hole and all done!
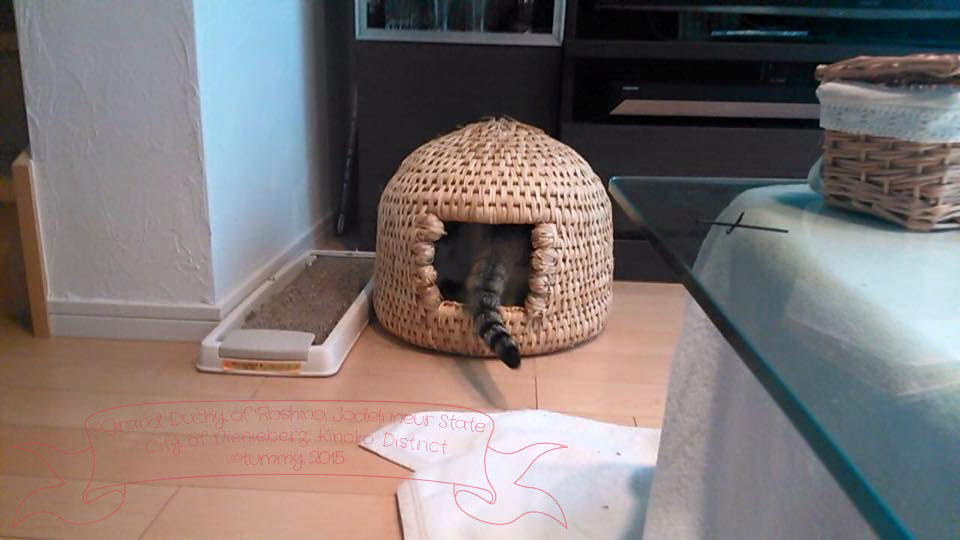
こちらも2014年に作った猫ちぐらです。 東京のお友達の所で使ってもらってます。 This is another nekochigura I made in 2014. It is in use at my … Neko Chigura 2015-13 Extra Edition 2 猫ちぐら2015の13 番外編 2Read more

天井の穴が小さくなると、編みにくくなりますが、できるだけ 小さくなるまで編んでいきます。 You will find it difficult to weave the ceiling as the hole becomes smaller, … Neko Chigura 2015-12 猫ちぐら2015の12Read more

天井を編んでいきます。 Weaving dome ceiling continued. 中心に向かって、穴を小さくするように編みます。 Weave to make a hole smaller towards center.

天井部分を編みます。 Now weave dome ceiling. 中心に向かって、丸みをつけながら縮めながら 編んでいきます。 Keep weaving towards center, reducing the diameter so that … Neko Chigura 2015-10 猫ちぐら2015の10Read more

壁が立ち上がり、出入り口が出来てきました。 Side walls rise up and the entrance/exit is more clear now.

縁を起ち上げ始めました。 I’ve started weaving the edge upwards. 出入り口を作りながら、壁になる部分を編上げていきます。 Weave side walls while making the entrance/exit.
お友達に差し上げた2014年に作った猫ちぐらの 現在の様子を教えて頂きました。 Here is a current condition of neko chigura: it was made by me in … Neko Chigura 2015-7 Extra Edition 猫ちぐら2015の7 番外編Read more

底の直径が40センチを越えました。 The bottom’s diameter is over 40 cm now. 縁を立ち上げ始めます。 Start weaving edge up.
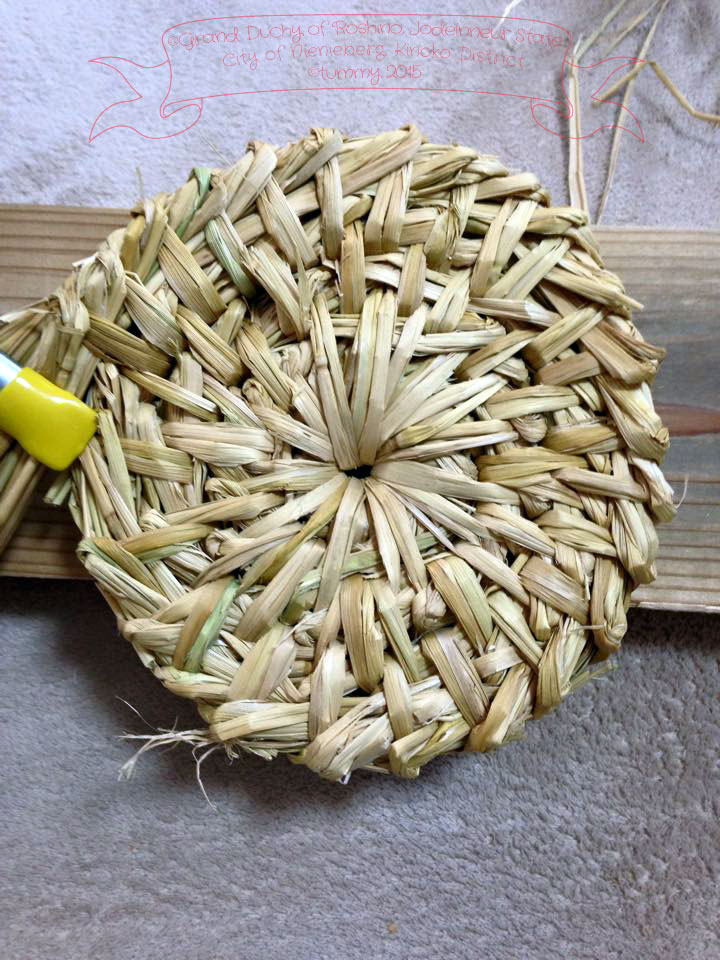
そこの部分の裏側です。 The back side of the bottom part. こんな風になっています。 It looks like this.