Grand Duchy of Roshino, Jodelnneur State, City of Nienieberg, Kinoko District
ロシーノ大公国ヨーデルヌール州ニーニーベルグ市きのこ地区


Neko Chigura 2015-7 Extra Edition 猫ちぐら2015の7 番外編
お友達に差し上げた2014年に作った猫ちぐらの
現在の様子を教えて頂きました。
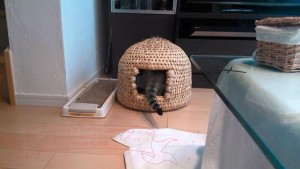
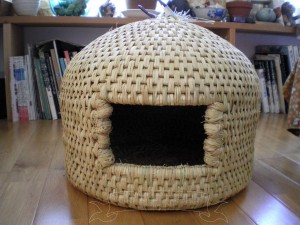
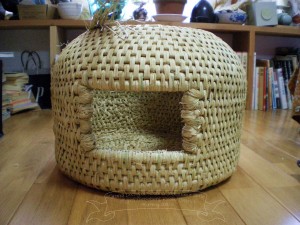
Here is a current condition of neko chigura: it was made by me
in 2014 and given to my friend as a present.
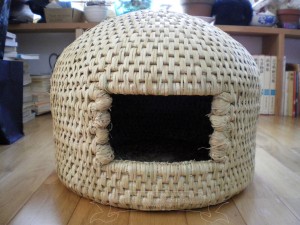
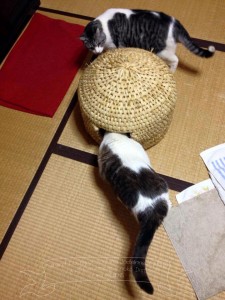 爪とぎにも使っているそうで、やや毛羽立っていますが、
特に問題はないようです。
Cats also use it as a scratching post so it appears to be
slightly torn up
but there seems to be no problem at all.
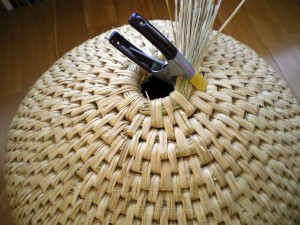
2014年の猫ちぐらNekochigura from 2014.

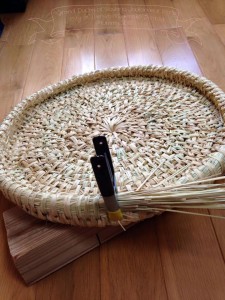

Neko Chigura 2014 -8- 猫ちぐら8

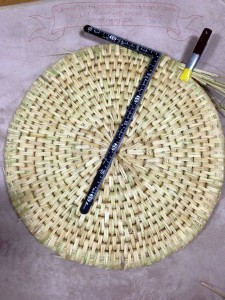
 猫ちぐらの中に敷くクッションを作りました。
底の直径に合わせ、
丸く布を裁断し、綿を入れます。
I made cushions which will be placed inside of these nekochigura.
Cut the fabric into circles in accordance with the size of the bottom
then stuff them with fillings.
 クッションを猫の模様や猫が好きなものの柄の布で作るのも楽しいです。
手前は鯉の柄、奥は猫柄です。
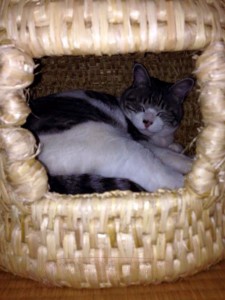
2つの猫ちぐらは無事友達に貰われていきました。
It is fun to choose fabrics for these cushions:
like cat prints, patterns of the things cat likes.
The front is koi carp print, and the back is cat print.
These two Nekochiguras already found new owners Yay!
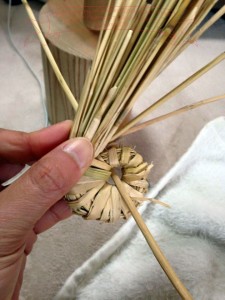
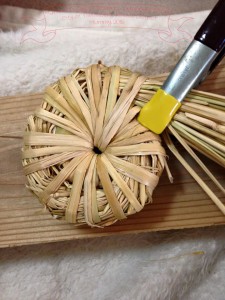
Neko Chigura 2014 -7- 猫ちぐら7

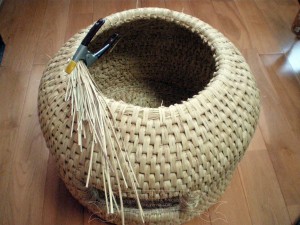
 一回り小さい猫ちぐらも作ってみました。
小さくするときは、底の直径を小さくします。
I made another nekochigura, which is one size smaller than the first one.
Adjust the size of nekochigura by the diameter of the bottom.
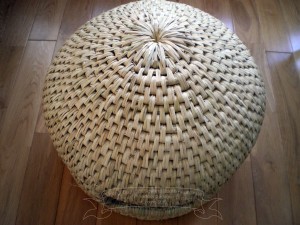
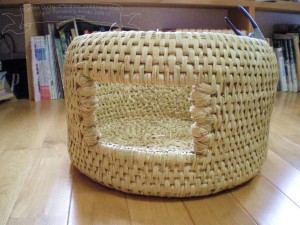
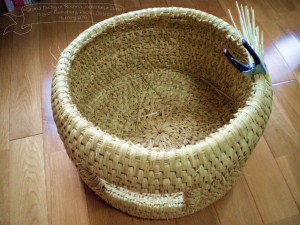
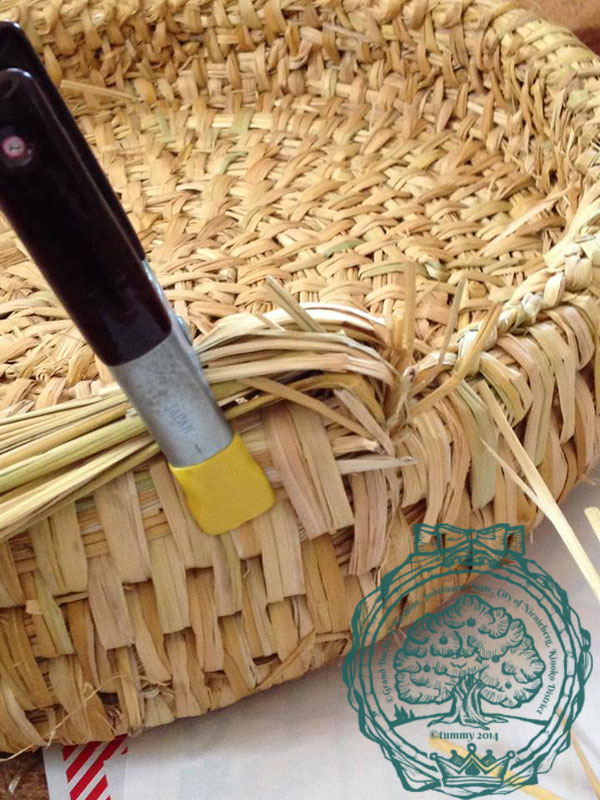
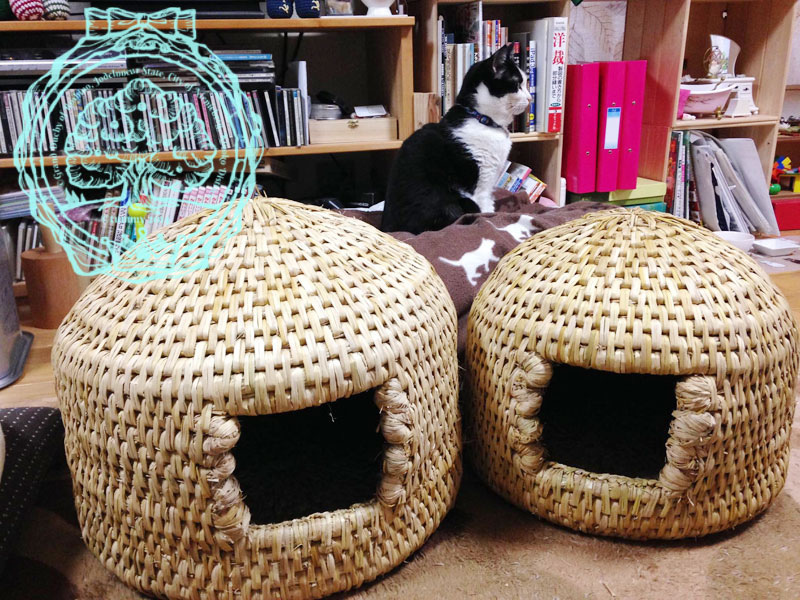 左は最初に作ったものです。底の直径は42センチほど。
右は次に作ったものです。底の直径は35センチほどです。
Left is the first one I made.
The diameter of the bottom is about 42cm.
Right is the second one.
The diameter of the bottom is about 35cm.