Grand Duchy of Roshino, Jodelnneur State, City of Nienieberg, Kinoko District
ロシーノ大公国ヨーデルヌール州ニーニーベルグ市きのこ地区


Neko Chigura 2015-7 Extra Edition 猫ちぐら2015の7 番外編
お友達に差し上げた2014年に作った猫ちぐらの
現在の様子を教えて頂きました。
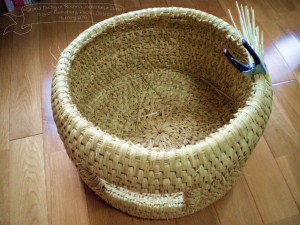
Here is a current condition of neko chigura: it was made by me
in 2014 and given to my friend as a present.
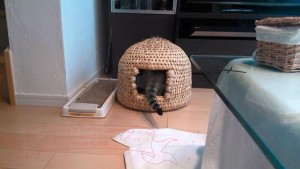
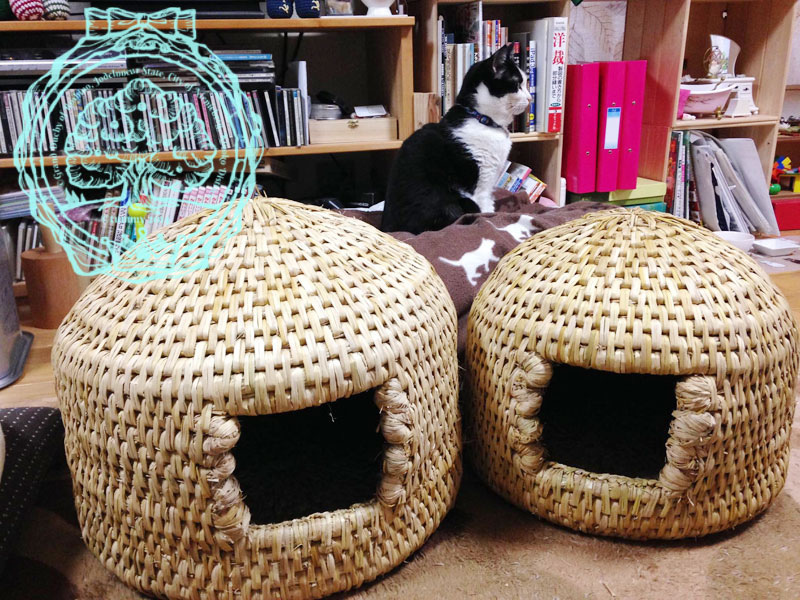
 爪とぎにも使っているそうで、やや毛羽立っていますが、
特に問題はないようです。
Cats also use it as a scratching post so it appears to be
slightly torn up
but there seems to be no problem at all.
2014年の猫ちぐらNekochigura from 2014.


Neko Chigura 2015-2 猫ちぐら2015の2

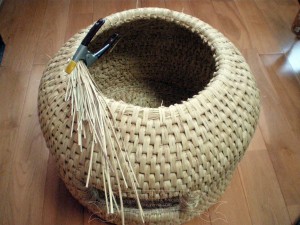
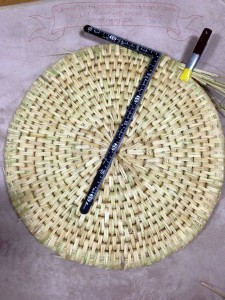
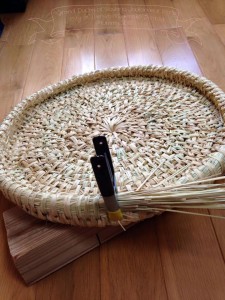
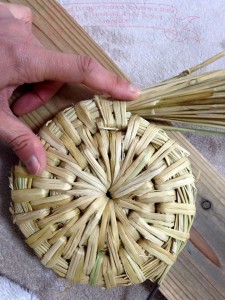
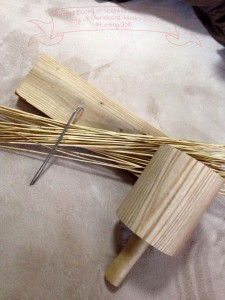
猫ちぐらを作ることは、まず藁を手に入れるところから始まります。
Making of Neko chigura starts with getting fine rice straws.
 今年は知り合いにとても良い藁を譲ってもらえました。
よくお日様に当て、乾燥させた丈の長いものです。
中くらいの猫ちぐらを作るには、この藁の束が20~30必要になります。
I was lucky to have these nice straws from my friend this year.
They are well-exposed to the sun, well-dried, and long-stemmed.
For medium sized neko chigura, you will need 20-30 of this bundle of straws.
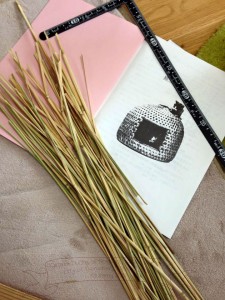 藁はすべて余計な部分を除き、編むのに適した長さに揃えておきます。
年に一度の猫ちぐら作りなので、しっかり作り方の本を見直しておきます。
Preparation of straws: eliminate unnecessary parts and cut to the adequate length.
Go over the how to make neko chigura booklet; it’s a once-a-year event
so you don’t want to mess it!
Neko Chigura 2015-1 猫ちぐら2015の1

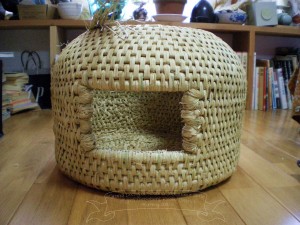
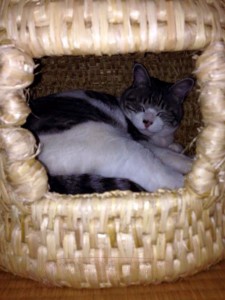
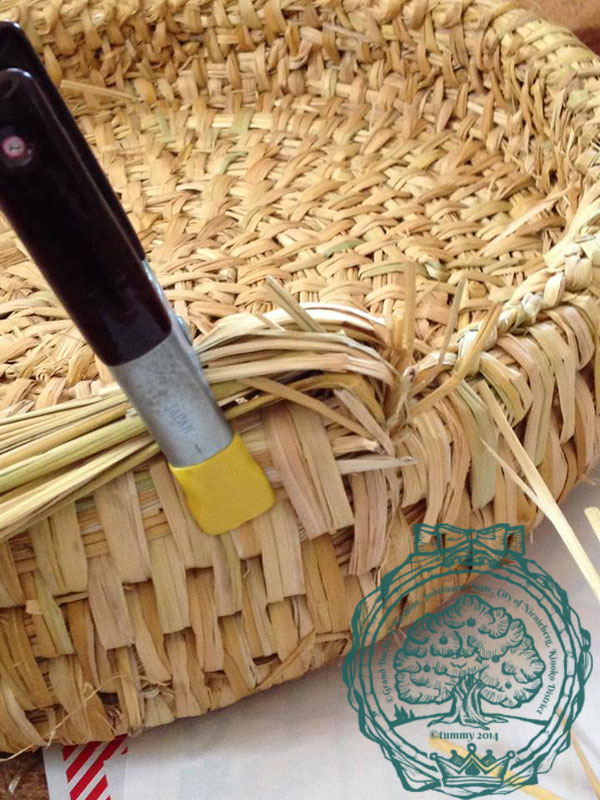
 猫ちぐらは、藁で編まれたドーム状の猫のお家です。
Nekochigura is a cat house with dome ceiling made out of woven rice straws.
ちぐら、というものはもともと農作業中に赤ちゃんを座らせておくためのもので、
それぞれのお家で作られていたものでした。
Originally, chigura was a woven basket in which baby sits during
parents are working in the farm and was commonly made by individual family.
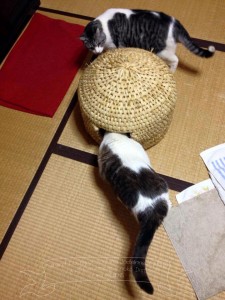
それをドーム状にして猫のお家にしたところ、多くの猫が喜んで入ってくるように!
Then after making it a cat house with dome ceiling, people found cats actually love and enjoy it!
現在は新潟県の関川村を中心に作られていますが、編める人も少なく時間もかかることから、
注文してから届くまで6年もかかるそうです。
Nekochigura is currently made in several villages in Niigata prefecture, like Sekikawa-village,
however, there are only a few people who can make it and it requires lots of time to make,
now you need to wait 6 years to get one for yourself.
そこで、私は自分で作れるようになればいいと思ったのです。
At that point, I realized “how about making one by myself?”.
もとは、各家庭で作られていたもの、それほど専門的な道具も技術も必要なかったのです。
As I mentioned before, Nekochigura is made by each household, so you
really need neither special tools nor techniques.
関川村の猫ちぐらのご紹介↓Here is a link to Sekikawa-village’s Nekochigura makings
http://www.nekochigura.com/
Neko Chigura 2014 -8- 猫ちぐら8

 猫ちぐらの中に敷くクッションを作りました。
底の直径に合わせ、
丸く布を裁断し、綿を入れます。
I made cushions which will be placed inside of these nekochigura.
Cut the fabric into circles in accordance with the size of the bottom
then stuff them with fillings.
 クッションを猫の模様や猫が好きなものの柄の布で作るのも楽しいです。
手前は鯉の柄、奥は猫柄です。
2つの猫ちぐらは無事友達に貰われていきました。
It is fun to choose fabrics for these cushions:
like cat prints, patterns of the things cat likes.
The front is koi carp print, and the back is cat print.
These two Nekochiguras already found new owners Yay!
Neko Chigura 2014 -7- 猫ちぐら7

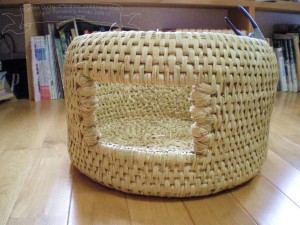
 一回り小さい猫ちぐらも作ってみました。
小さくするときは、底の直径を小さくします。
I made another nekochigura, which is one size smaller than the first one.
Adjust the size of nekochigura by the diameter of the bottom.
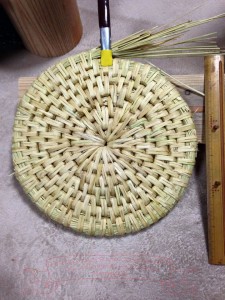
 左は最初に作ったものです。底の直径は42センチほど。
右は次に作ったものです。底の直径は35センチほどです。
Left is the first one I made.
The diameter of the bottom is about 42cm.
Right is the second one.
The diameter of the bottom is about 35cm.