Grand Duchy of Roshino, Jodelnneur State, City of Nienieberg, Kinoko District
ロシーノ大公国ヨーデルヌール州ニーニーベルグ市きのこ地区


Neko Chigura 2014 -1- 猫ちぐら1

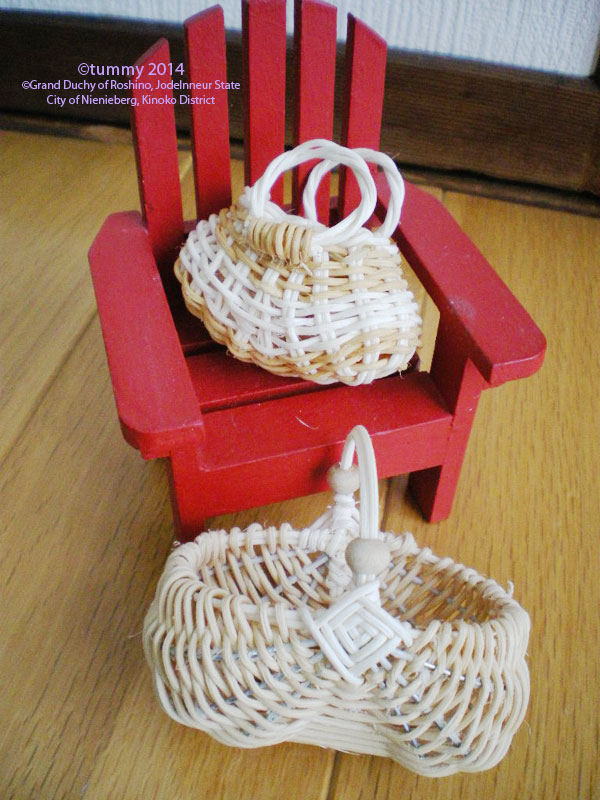
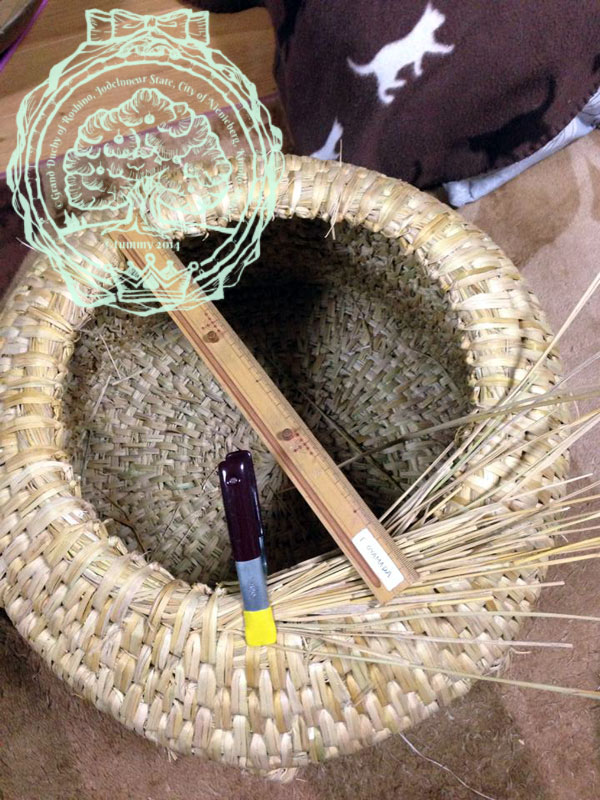
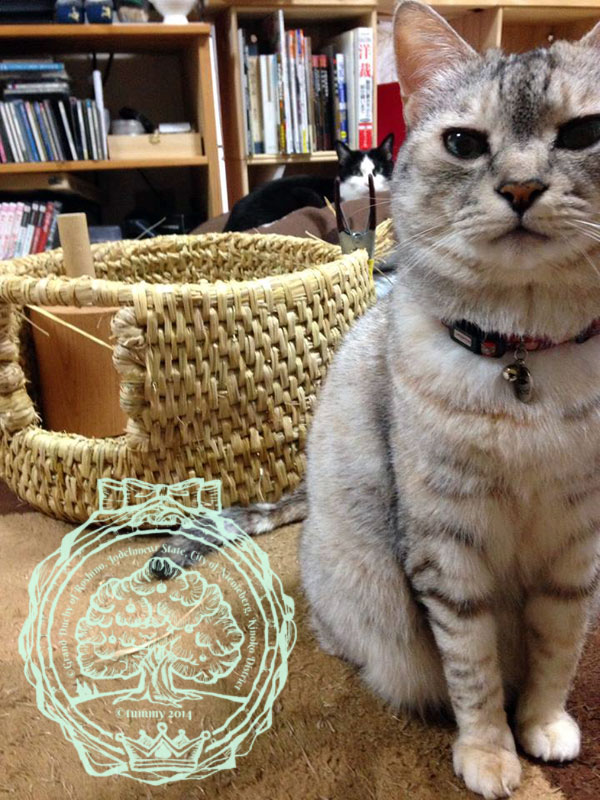
 「猫ちぐら」は、藁でつくられた猫のお家です。
新潟県では昔、農家でよく作られていたようです。
現在では、民芸品として人気があります。
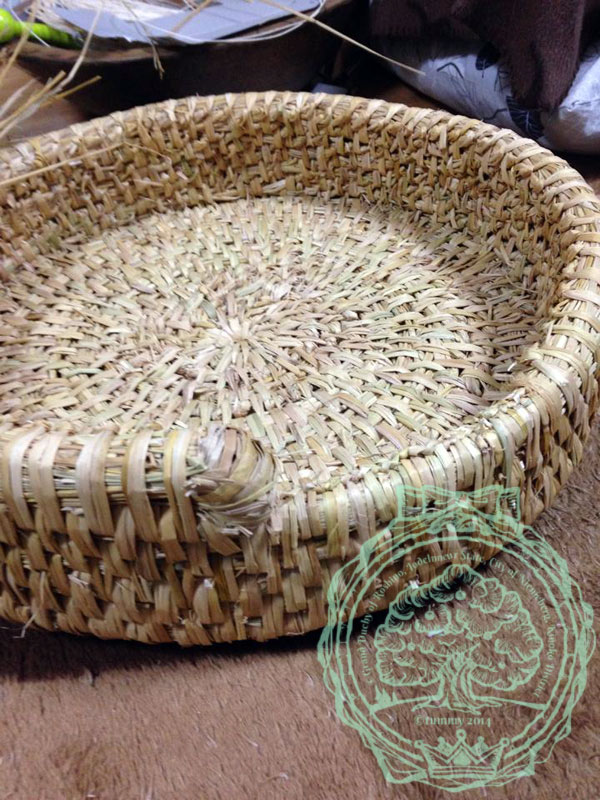
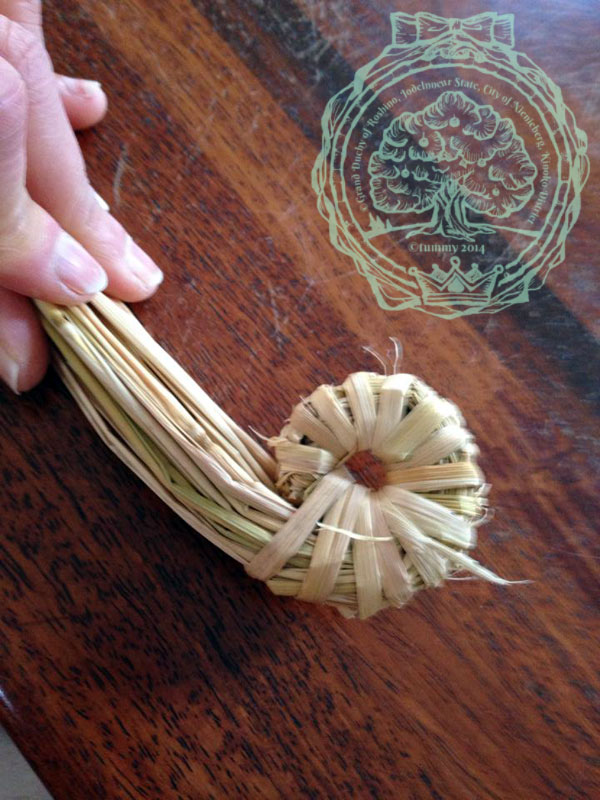
底の部分の中心から、編み始めます。
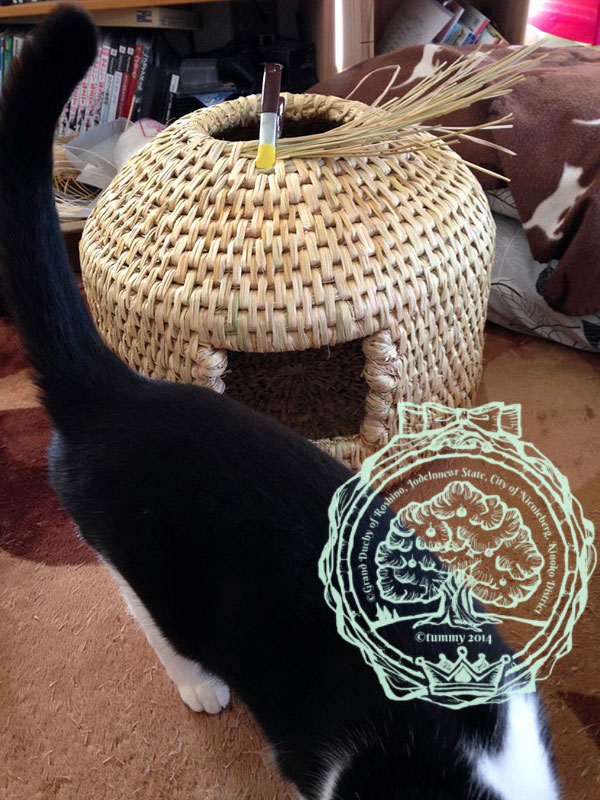
“Neko Chigura” is a cat house made out of rice straws.
It was made mainly by the farmers in Niigata Prefecture in old days.
Today, it is popular as a folk art.
It starts weaving from the center of bottom.
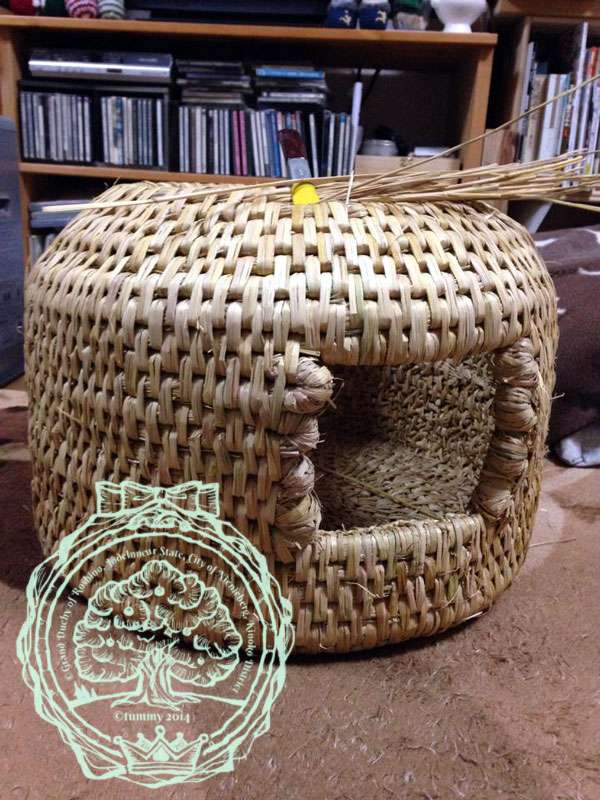
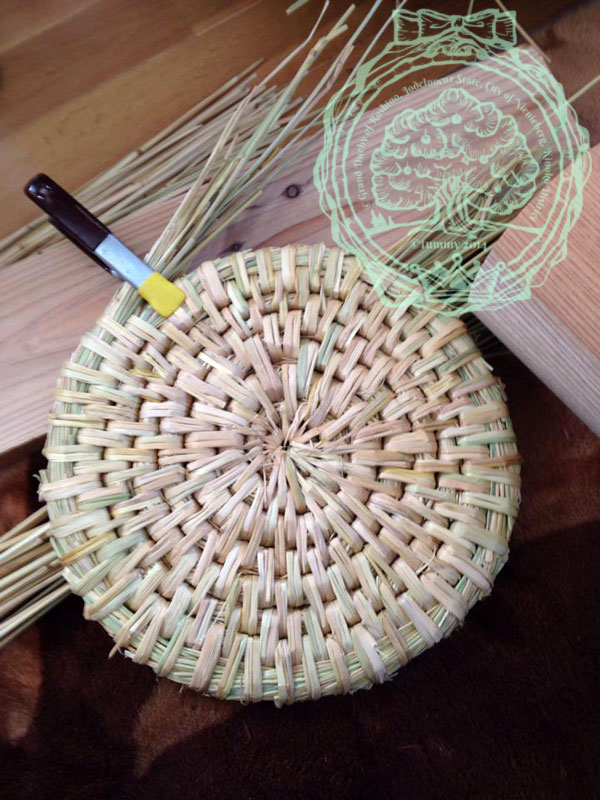 好みの大きさになるまで、底を編み進めます。
Keep going until it reaches the size you want.

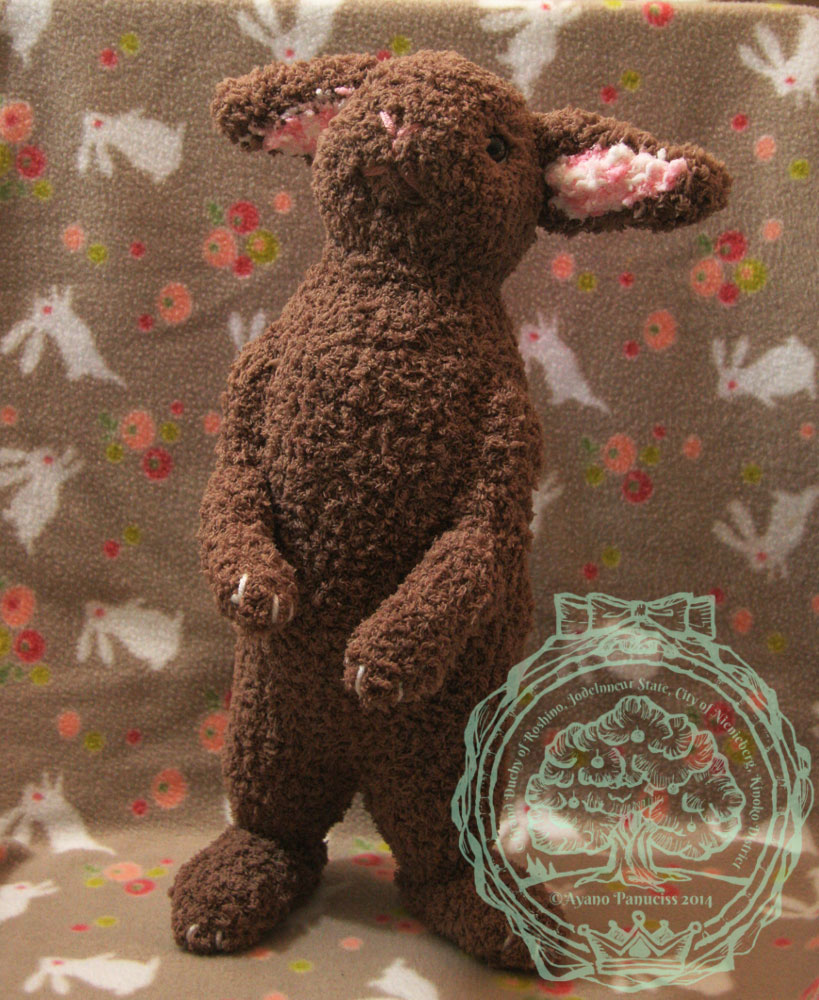


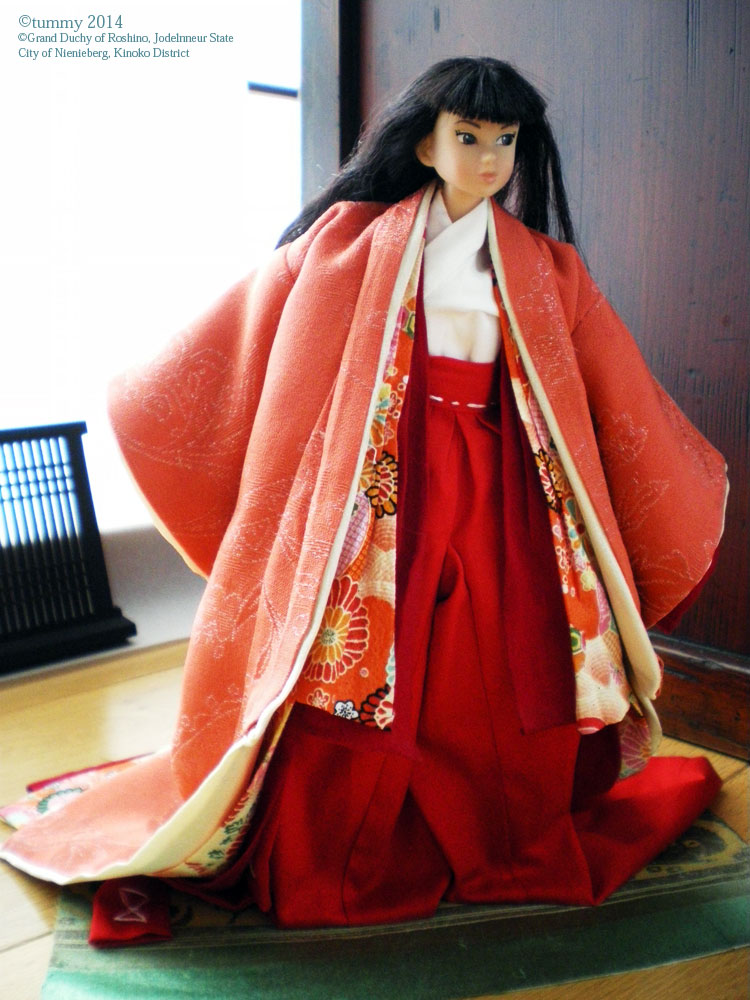


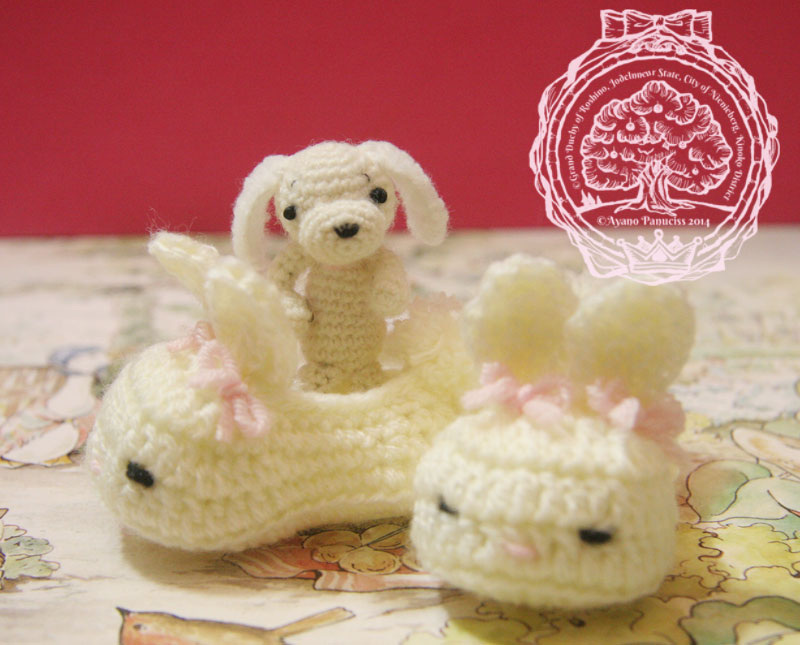
Doll’s kimono ~the Heian period 1~ 平安装束 -筒袖&長袴-

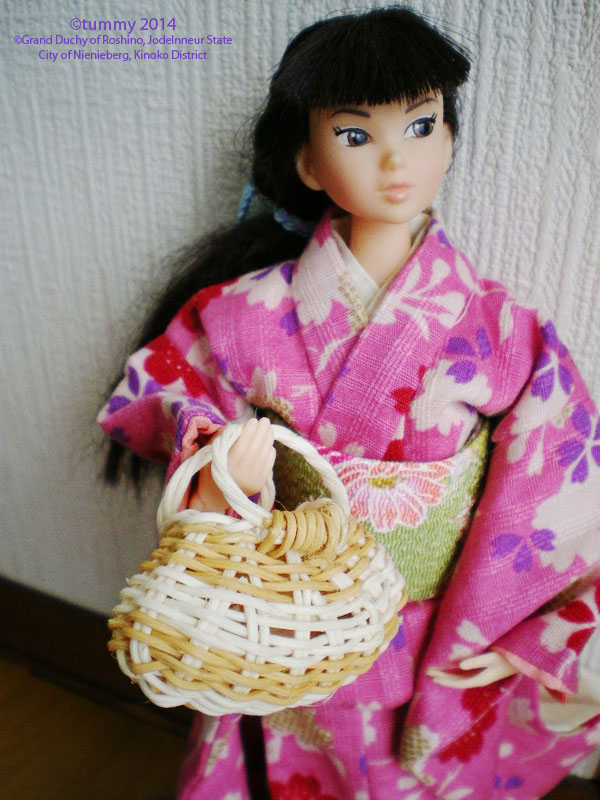
 お人形の平安時代の衣裳を作っています。
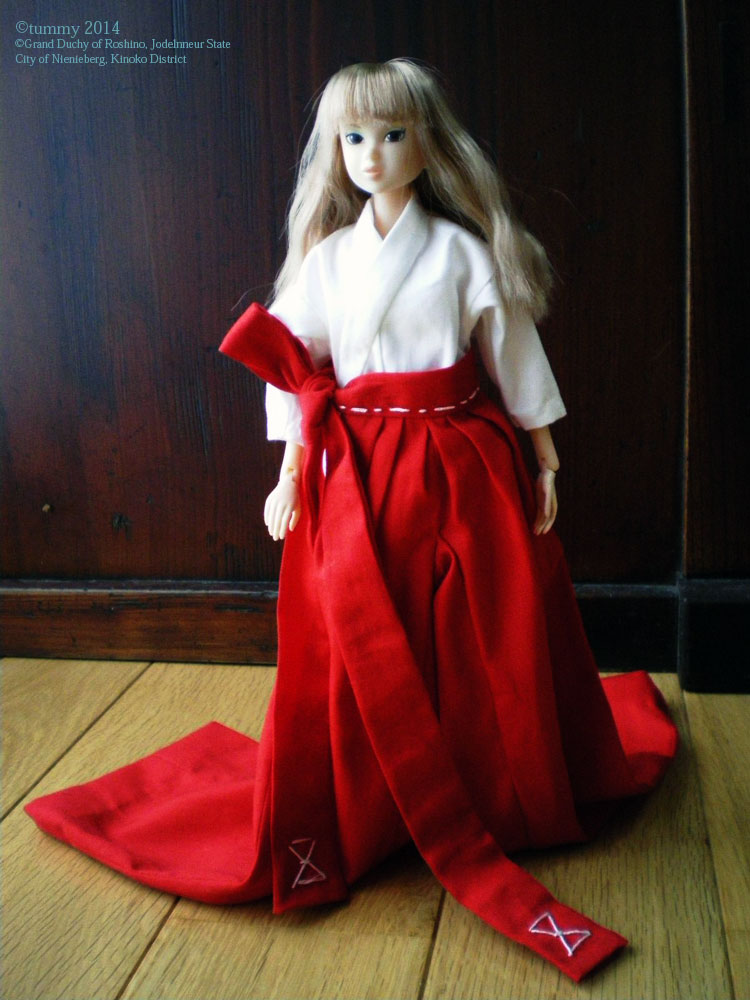
白い筒袖の着物に長い緋袴をはきます。
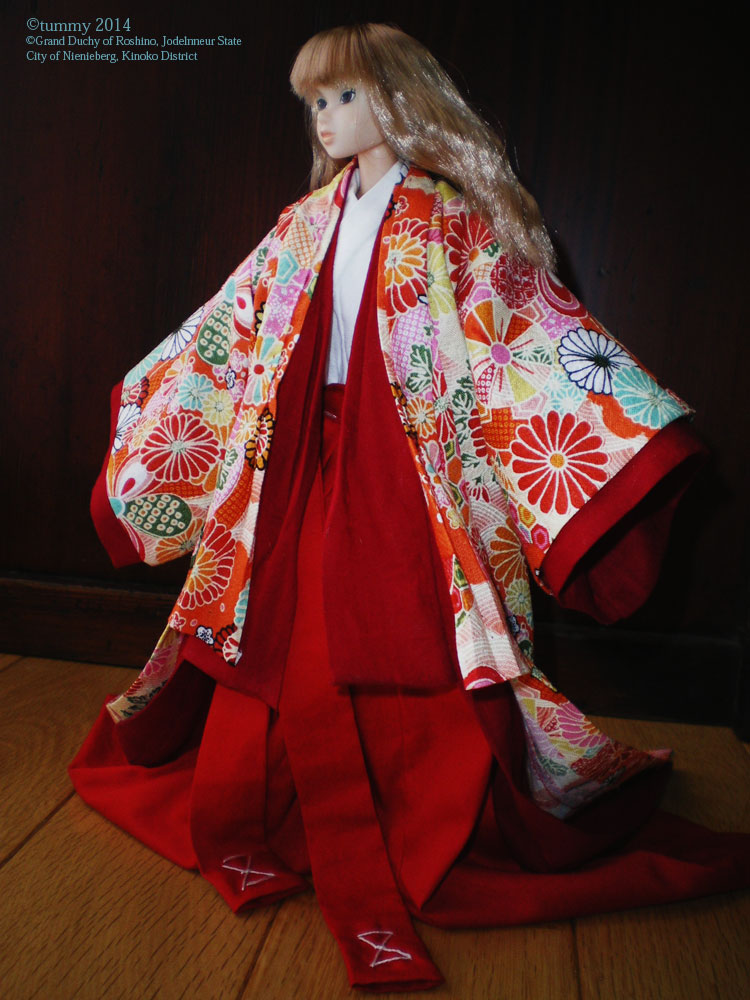
緋袴の紐の端に縫われている模様は、「立鼓」(りゅうこ)と言います。
I am now working for doll’s costume of the female nobles from Heian period.
The top is a white kimono with tight sleeves and
the bottom is a red long hakama.
The hourglass-shaped decorative stitching at the end of the belt of
red hakama is called, “Ryuko” (standing drum).