ブーツ

Ken’s boots 8 ケンのブーツ8

  靴ひもを通しましょう。

これで完成でーす。

Lace shoestrings through the eyelets.

Now they are ready to wear.

Ken’s boots 7 ケンのブーツ7

靴底と上部がしっかりと貼りあわされたら、

境目をサンドペーパーでなめらかにしましょう。

After confirming it’s securely glued the sole and boots

sand off the edge to be smooth.

Ken’s boots 6 ケンのブーツ6


今日は、靴底を作ります。かかとの部分を底に接着します。

クランプやクリップなどで、しっかり止めて、乾くまで待ちましょう。

Today, Prin is working for the soles.

Glue heel parts on the soles.

Secure them with a clip and wait until it gets dried.

Ken’s boots 5 ケンのブーツ5

 靴底に開けた縫い穴に合わせ、キリなどで上部の革にも穴をあけます。

縫い始めは返し縫いします。

Pierce holes in the upper leather parts

in corresponding to the holes on the soles.

Backstitch in the beginning.

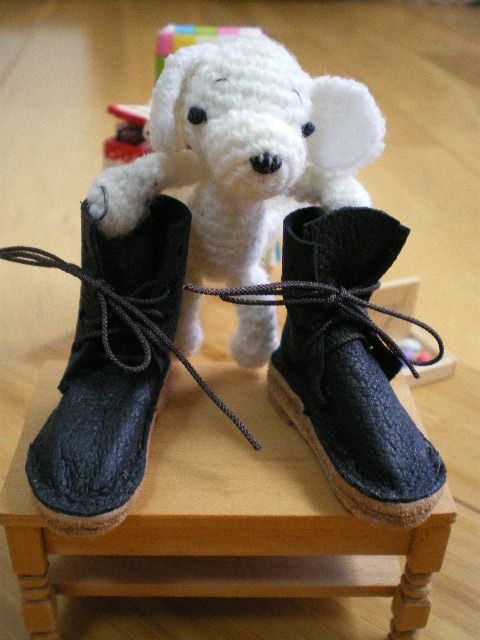
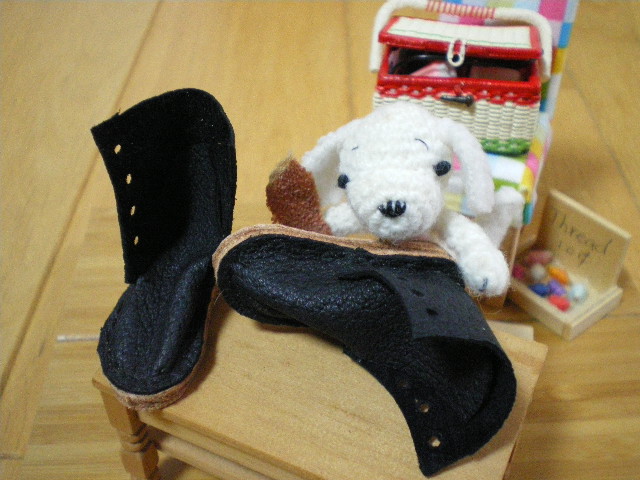
Ken’s boots 4 ケンのブーツ4

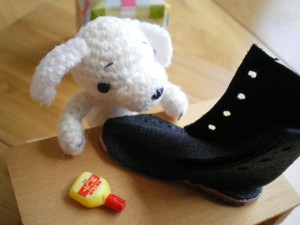
ブーツの底と上部を縫い合わせる準備。糸は蠟引きしておきます。

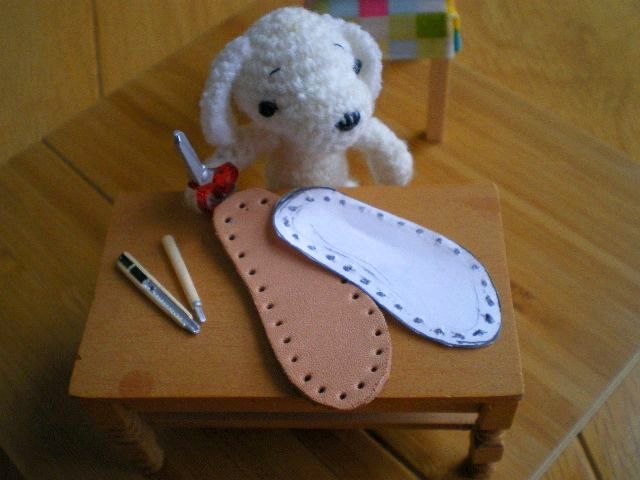
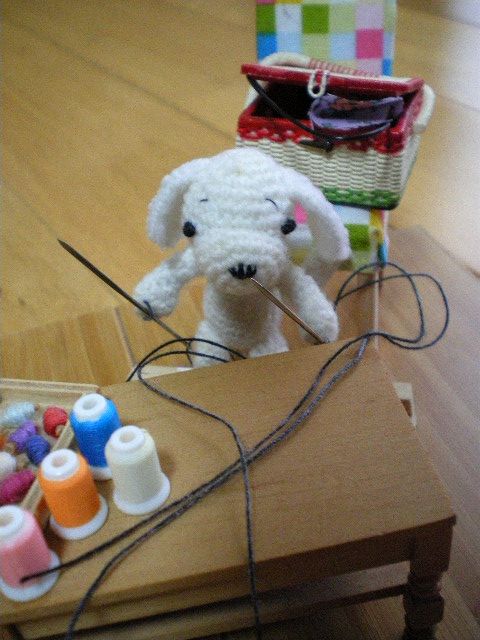
糸は縫う長さの2倍プラス針の長さ位にします。革を縫うときは、二刀流です。

Prepare for the sewing upper boots leather and soles.

Threads are waxed beforehand.

You need waxed threads about twice as long as the length around the sole

plus a length of the needle.

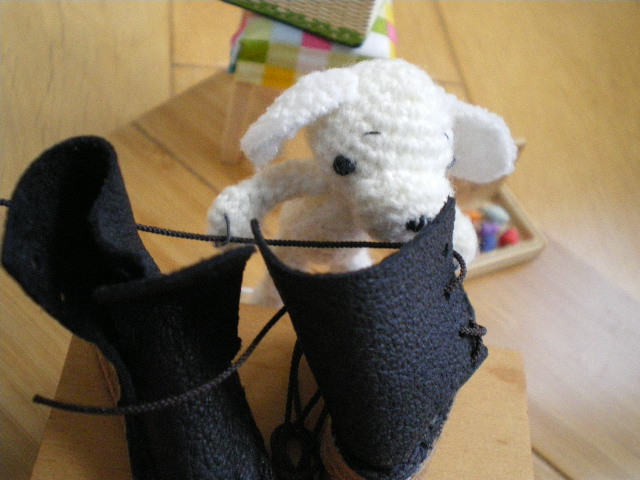
When you sew the leather, you use two needles at a time.

Ken’s boots 3 ケンのブーツ3

 靴底の革に合わせ、サイドとフロントの革を接着剤で軽く止めます。

縫いますので、穴に接着剤がかからないようにします。

Lightly glue the side and front leather

so that they fit the bottom leather sole.

You will sew them later so be careful not to

cover the holes.

Ken’s boots 2 ケンのブーツ2

 とった足型に合わせて、靴底の型紙を作り、革をカット。穴もあけます。

Male a pattern and cut the leather.

You need to pierce holes, too.


 サイドとフロントの部分は、柔らかいピッグスキンで。

Boots side and front are soft pig skin leather.

Ken’s boots 1 ケンのブーツ1

ケンのシューズでなかなか気に入ったものがないので、作ることにしました。

白い子犬、プリンが頑張ります。

I decided to make shoes for Ken

since I couldn’t find anything good for him.

A white puppy, “Prin”, is going to show you the process

making Ken’s boots.

まずは、ケンさんの足型をとります。

First, make a pattern out of Ken’s feet.

Made in Charmyheim